CLICK HERE FOR FREE BLOGGER TEMPLATES, LINK BUTTONS AND MORE! »

Saturday, December 17, 2011

A little bit of Christmas sewing...

Well as usual it seems like the Christmas deadline for sewing projects is closing in on me rapidly. Thursday night at about 10 p.m. I realized I didn't have a special shirt for Vincent to wear to his Christmas party. So I went through my supplies and found some pieces to a Rudolf applique I had started for him 2 years ago & just never finished. So I grabbed his red shirt and made new green antlers for it. He looked soooo cute in it! I'd been waiting for over 2 weeks for a red shirt from Old Navy to arrive for Gabby and it came yesterday, so next up is shirts for her & Dominic. Who knows... I might even do them for Dan & I if there's enough time. :)


After the party with his Santa whistle & jingle bell. :)

Tuesday, December 13, 2011

Better late than never... I finally have the bags listed

Well I finally have my bags listed on etsy and will see if they sell... ever ;) I think they'd be great for Christmas, birthdays, or just because. :)


Just click the banner above or the etsy shop logo on the side bar to go there.


Wish me luck!

Also while I won't be adding lots at a time I do love doing custom orders so please feel free to contact me if you'd like something done. I do those too!

Saturday, December 10, 2011

Falalala....Lala Bags almost ready

Seriously it seems like I've been working on these 3 bags forever... I started them & then got busy with the kids, decorating & shopping for Christmas, and basically life. However I have been working on them little bits at a time. Here's a quick peek at the 3 bags I'm going to list & try to sell on etsy. I'm excited about trying it & we'll see how it goes. They aren't quite finished yet, but the applique's are all done. I hope to upload a listing Sunday Dec. 11 in the evening at some point. 


 The colors/fabrics are my own creations - not trying to exactly replicate any 1 Lalaloopsy doll out there. A fun & 100% unique bag for any little girl. :) See this post for the first Lalaloopsy bag I created!

Also as the eyes & bows are buttons hand sewn on I would have to recommend for 3 & over or under CONSTANT Adult supervision. I have put them on as tight & strong as I can, but you never know what a little one is going to do. 

My husband has informed me that I HAVE to make one for our 1year old daughter to carry her Lalaloopsy dolls & books in. "Don't worry dear, I'm on it!" ;)


Monday, December 5, 2011

All we need is some snow...

OK, I'm not really ready for snow yet. But the house sure would look pretty & more festive with snow. Yesterday I shared our indoor Christmas decorations and today it stopped raining long enough for me to hop outside & snap a few pictures. 


I hung lighted garland + bows along the front porch rail. Then for the first time I put a lighted garland around the front door. It looked kind of plain so I added some extra filler ornaments from the tree and pulled off some of our large candy canes (they are Martha Stewart from Home Depot last year - I got like 12 for $20 or something like that).

For the front door I was inspired again by Pinterest from this pin HERE. Again with the $2.48 Wal-Mart wreathes and ribbon I had - much cheaper on the wallet & still makes a pretty big impact from the road I think. I am so happy with how it turned out.


I also wrapped some boxes that we had (the big ones were what I stored all my garland in last year, so I'll be bringing some new ones home from the restaurant). I found some cute wrapping paper at the Dollar Tree (tried to go for the 40sq ft rolls - watch it b/c some are only 10 or 12sq ft & you'd need several for big boxes). I think for next year I'll pay more attention to the after sales for nicer wrapping paper - but this works for now. Though I might have to switch out my big boxes b/c they aren't a sturdy as my smaller Pampers boxes are that are the top 4. 
I might scrounge up some smaller scale boxes & do gift topiary's by the door (like these) - but these presents were too big & I didn't realize it until they were wrapped. (Also I put a small log from our wood pile in each so they wouldn't blow away). I still need to go make a few bows to put on the ones that are out there currently. 


And... one more time with those bargain wreaths (seriously I can be so cheap sometimes), but they work and if I want something new next year I won't feel guilty about it when I only have $22 wrapped up in 9 different wreathes :) Its kind of hard to see in the daylight but behind each wreath in the window inside I have 1 single candle that lights up (so 4 across the front of the house). The wreaths are hung up with some sturdy fishing line. I first positioned the candles inside & then hung the wreathes over them outside. It took about 20 minutes. 

Over all I'm really happy with how festive the whole house looks this year & the kids are really enjoying it, which is why we do it anyway right? I doubt we'll ever be a house that goes over the top with huge displays across the lawn that take from Halloween to assemble (you know the kind I'm talking about) but I will just aim for classy & festive


Also the kids wanted me to include one of Buddy's last antics - a snowball fight with our 2 Snowmen & 1 Snow-lady. They thought it was so funny!


(side note on this bottom shelf in the living room I display all of our Santa pictures from past years - they make us all small - the good, the bad & the silly).

I hope you are getting into the Christmas Spirit too!


Sunday, December 4, 2011

Its beginning to look a lot like Christmas...

Wow! The Holidays are here & time is flying by isn't it?! I've kind of taken a break from sewing the last few weeks. Instead I've been decorating the house for Christmas & shopping for presents (mostly online this year). I wanted to share some pictures of what I've done around here with the help of some very inspiring pins from Pinterest.

This is one of my favorite things. I found the idea on a cute blog HERE on Pinterest. I used a cheap $2.50 wreath from WalMart, Some $1 store floral accents, last years after christmas sale ribbon, a few extra pine comes from my lanterns & 1 garland. It is the light fixture over our kitchen table.


Then I had to take it one step further & do the light fixture over our entry way. However when I started I thought I was going to wrap that chain... until I realized that all the way to top was waaaaay taller than any ladder we have, so I left it alone & lived to tell about it. :)


 Our tree - our 1yr old rearranges the bottom about every 10 minutes:) its still standing so I'm happy!


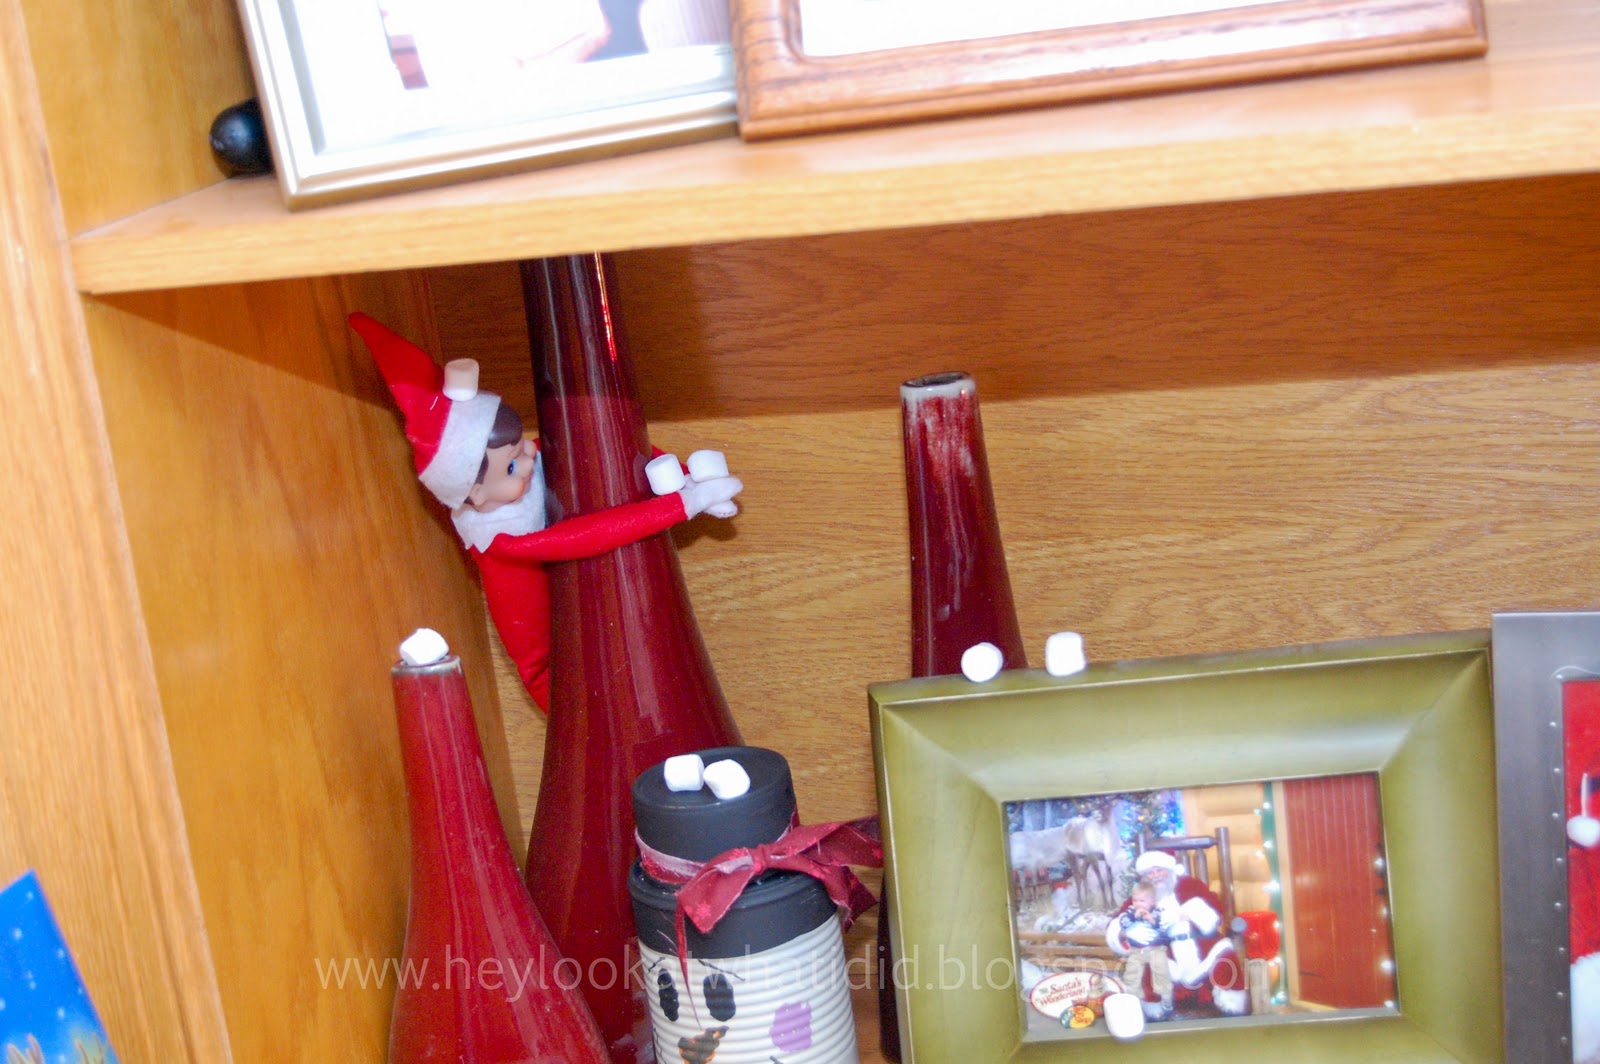
Now don't look to close to the clutter of frames... we've been here 1.5yrs I still don't have these shelves how I want them.
We put our stockings up to 1 side - b/c we use the fireplace & it gets too hot. We got the sled this fall at a local craft show thing from an antique shop that was there - SCORE $20. I've got some Jim Shore santas mixed in w/ Hobby Lobby ones on the mantle. On the other side on the bottom row are our past pictures with Santa, Christmas books and some additional holiday knick-knacks.


This time I filled up my lanterns with a multi pack of red, green & gold ornaments & some cinnimon scented pine cones. (it cost me about $18 total at WalMart) - plus I had extras that I used on my garland outside the frontdoor & on my kitchen light. I was inspired by THIS blog post I found on Pinterest. Gosh I love my lanterns.

On our TV cabinet (that Dan made for us a few years ago) I have my Mickey Christmas Village - I asked for pieces of it last year & the kids & I love it. We'll keep collecting in the future. I figured the Mickey Village was fun for our kids now & in many years hopefully we'll have plenty of grandkids to enjoy it too (I'm sentimental like that). There are a few more Santa's tucked in the shelves too.


We purchased this re-claimed wooden double star the same day as the sled (from a different shop) and it hangs across the livingroom from the fireplace. I put this cute little tin present garland on it - it was meant to display Christmas cards from it, but they always get knocked off of it.

I even added a small table top tree to the playroom. Its got some bell ornaments so I could hear if someone tried to pull it down. So far so good & I've never heard a sound :)

Of course what would Christmas with kids & Pinterest be like with out some Elf On The Shelf mischief. A few nights ago our elf (Buddy) was playing with some superheros in the kitchen.


Up next I'll hopefully get some pictures of the outside. I'm pretty happy with how it turned out too. How is your holiday decorating going?

Monday, November 21, 2011

Thomas to a T (or in this case T-shirt)

My cousin has a little boy that is 2 months older than my middle son. He turns 3 in a couple of weeks. She asked if I could make him a Thomas shirt for his birthday party. This is what I came up with for them. All of the details on Thomas were individually cut out & appliqued/stitched on. I can't wait to see pictures of the birthday boy in it!


Thursday, November 17, 2011

Custom Appliques


I love doing appliques for my kids and have recently begun doing some for other's as well. Here are just a few.

These first ones I made for a lovely mama in S. California. She asked me to make some applique shirts for her 3 kids. Her daughters needed tops for Halloween - a rainbow butterfly & a ladybug w/ purple spots. :) Her little boy wanted a new batman shirt with a cape (the cape is attached with velcro so it can come of if it gets caught on something). I'm so pleased with how they turned out!


Here are her 3 cuties dressed for Halloween - her little boy was wearing one of the boys original Halloween monster shirts that I had made a couple of years ago - I love it with his mini boden baggies too. :)

This pony shirt I finally finished yesterday afternoon to send to my friends little girl in New Orleans - this is a shirt for my bff's daughter - we grew up riding & showing horses together as kids and this horse even looks a bit like her new horse too. I hope it fits!


Now I just have to get this little package in the mail to them... including her bag that I posted about a couple of weeks ago! Whoops!

I've also got a really cute Thomas the Tank Engine #3 birthday shirt ready to stitch for my cousins little boy. Its turning out pretty cute too.

I am not sure if I ever really plan to do a set line in my etsy shop but if there's ever anything that you'd like me to create for you let me know & we can work together to create just the right thing! :)

Wednesday, November 9, 2011

sneak peak of something new

Just a quick little peak at one of the new projects I've started this week. I just love this vintage paper-doll fabric from Timeless Treasures. 


I have several more sewing projects that I have been working on for some friends & family members little ones & need to finish them up before I share them with you. But I'm excited about them - each one seems to fit their personality and favorite toys so well.

Saturday, November 5, 2011

My favorite white cake recipe

** Disclaimer** I'm only a mom that try's my best to make cute & homemade birthday cakes! I'm not a pro :) So don't expect Cake Boss or Food Network Challenge quality cake decorating here! LOL! Seriously though I know there are amazing cake decorators out there & I'm not trying to keep up with them!

Years ago when our first child was baptized I wanted to make a cake for the after church brunch at our house. I finally came across an excellent website/blog with great cake baking tips & recipes. In the years since I have used this recipe many times as a base for cakes & cupcakes. The best part is that it is a "doctored" cake recipe - so you can use a box cake recipe & then add extra ingredients to it. Here are some fun ways that I've used this recipe from Peggy Weaver's Baking Corner

***************************************************************************************
White Chocolate Cake from Peggy Weaver's Baking Corner


6 ounces white chocolate, coarsely chopped
1 box plain white cake mix (Duncan Hines)
2/3 cup water
1/2 cup vegetable oil
3 extra-large eggs
1 teaspoon pure Vanilla Extract

Preheat oven to 325 Degrees. Place rack in center of the oven. Generously grease two 9-inch cake pans with solid vegetable shortening then dust with flour; shake out the excess flour. Set aside pans.

Melt white chocolate in a small saucepan over low heat, stirring constantly, 3 to 4 minutes. Remove from heat and let cool slightly.

In a large bowl, place the cake mix, water, vegetable oil, and eggs. Pour in the slightly cooled white chocolate. Blend with a mixer, on low, for 1 minute; stop the machine and scrape down the sides of the bowl with a rubber spatula. Increase mixer speed to medium and mix for 2 minutes; scrape down more if needed. The batter should look well blended.

Divide the batter evenly between the prepared cake pans, smoothing it out with a rubber spatula. Place the pans on a cookie sheet, side by side in the oven.

Bake the cakes until they are golden brown and spring back slightly when lightly pressed with your finger, about 38 minutes. Remove the pans from the oven and place them on wire racks to cool for 10 minutes. After 10 minutes, run a dinner knife around the edge of each layer and invert each onto a rack, then invert again on another rack so that the cakes are right side up. Allow to cool completely, at least 30 minutes or more.


***************************************************************************************
Here are a few different ways that I have used this recipe

Baptism Cake


For this cake I also tried a Marshmallow Fondant recipe, Buttercream Frosting recipe, and Cake Boss's Seedless Raspberry Filling recipe. It was lots of work, but then I only had 1 baby. :) ** Also I think the fondant is lots of work, hard to do & everyone picks it off, so I haven't tried it again, though this recipe was tasty as far as fondant goes.


The next time I made cupcakes for Dominic's second birthday party. I did a variation of a rainbow cake. I used Wilton's food coloring and divided the cake batter into different bowls. Then spooned 3 colors randomly into the muffin tins.


It was part of Vincent's 1st birthday cake - a giant elephant! My wonderful sister in law helped me make this cute cake - we stayed up pretty late, but had fun! There was also a chocolate sheet cake and carrot cake in there too.

When Dominic turned 3 he wanted a Spider man cake- so I did this one and used Wilton's food coloring again to make it blue & red.


 Then again last year for Vincent's 2nd Birthday - only because his party was inside he got plain white frosting & cake. :) I also made the toppers with some help from scrapbook paper, my scanner, photoshop, a cricut & hot glue gun! Maybe sometime soon I'll show how to make your own? :)


See how versatile this recipe is? Its my go to recipe & the one I find myself sharing the most, so thank you Peggy Weaver!